As you may know, we have been developing the first open-source system that will allow you to integrate a complete motion capture hardware and software framework into Blender and many other 3D software. We have started accepting pre-orders for our upcoming production release campaign through an online form. Alongside it, we have also published the beta version of our new Blender add-on, which will allow users to benefit from the advantages offered by the 2.8 version of the amazing 3D software that we all know and love.
With this new release, we have also leveled the playing field for users and simplified their experience throughout the motion capture process. What used to be a complicated set of steps has now become a purely graphical node-based approach. This makes motion capture less daunting for people with different degrees of experience.
In order to review our new plugin, we’ll go through the process of connecting the system’s sensors to a human 3D figure.
First steps
You can download the add-on here.
Once you have installed it, you will be able to control the global capture settings thought Chordata’s submenu located under the Window menu. You can add a Mocap avatar to the scene with a single click.
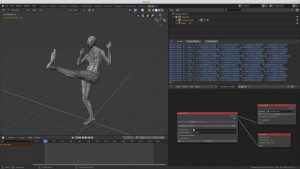
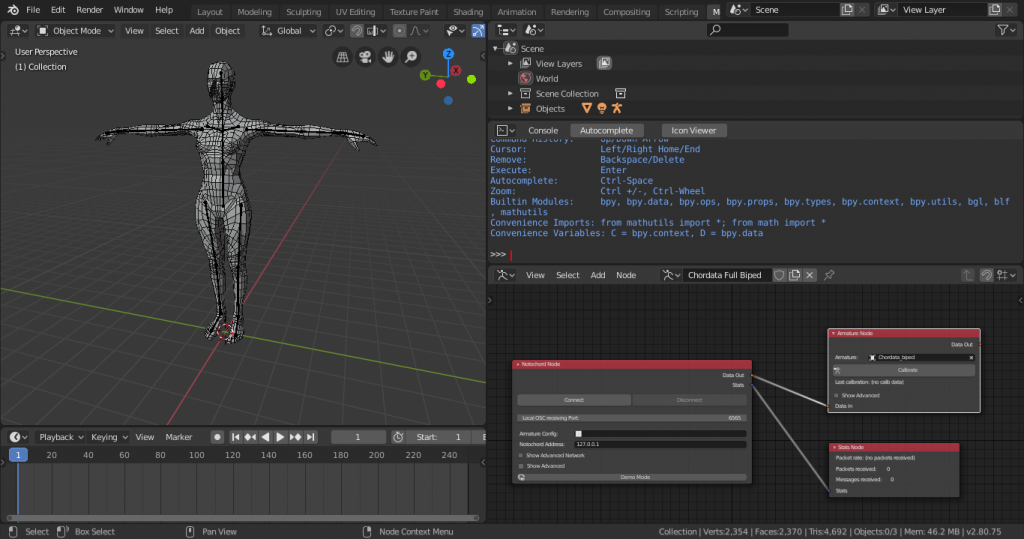
This will generate a humanoid figure and also add a Mocap workspace: it contains a 3D viewport, timeline, console and Chordata Motion’s node editor, which will already be populated with our default node structure for a biped figure data streaming.
Node structure
The add-on is now based on a node system. Its base unit, the Notochord Node, is in charge of gathering the data that is sent by Chordata Motion’s hardware and transmit it to all the downstream nodes.
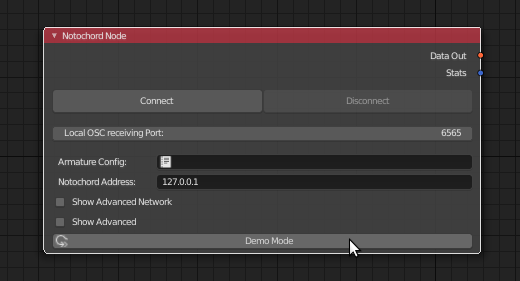
In future releases, this node will also allow you to initialize the capture on Chordata Motion’s hardware. For the moment, this process needs to be handled manually, as explained in this section of our wiki.
If you don’t have a Chordata Motion suit, you can activate the Demo Mode by clicking on the button you will find in the Notochord Node. That way you will get a sample capture stream.
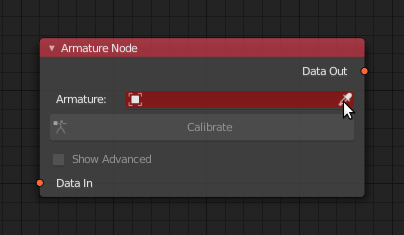
The Notochord Node will transmit data to any node that is connected to it. In this case, the Armature Node will be receiving our sensor’s data (or the sample data sent by the Demo Mode) and applying it to the rig that has been selected. If you wanted to apply the data of the sensors to a different rig, you would be able to do so by selecting it with the object picker found in the Armature Node.
Moving beyond the default setup
We can create our custom setups by adding a new empty node tree with the New button.

This will give us an empty layout in which we’ll need to add a Notochord Node and another receiving end, such as the Armature Node, to which we can connect the data coming out of the Chordata Motion’s sensors.
You can also create a custom capture processing pipeline by connecting other types of nodes that come with the add-on. They will allow you to visualize parts of the capture data, dump it to a file or to the console, or even process it using a custom python script.
As you have seen, Chordata Motion’s new add-on has made it simple for any user to get motion capture data into a 3D rig. This technology opens up what so far has been a restricted technology to multiple users who could not access it otherwise. If you would like to acquire our motion capture framework at a unique price, you can now do a pre-order of the kits that we will be offering as rewards in our upcoming Kickstarter campaign. Fill out our pre-order form will grant you early access to the best prices.
Connect with us on Facebook, Instagram, Twitter, YouTube, and LinkedIn.